Friday 27 September 2013

Harry Potter fever!


Oh yes, it is that time of the year again, where I can not resist myself to start reading the books over again, but then who can?! This morning after my workout I made a cosy corner and blended a ncie cup of coffee to start on my never ending reading list.


Borrowed some, got some on discount, but my collection has stayed untouched. Reading is my place to escape. Which has been rather hard considering my busy routine. Can't escape too often now can I?


So despite a huge list to get started on, one particular classic kept yelling, "Pick me! Pick me! Read ME!". Really it was magical, so I gave up and picked Harry Potter and the Half Blood Prince. Only to put it aside 4 hours later after miraculous ideas for fall decor started brewing in my mind, like a potion (Ok seriously, no drama, but really!)

Harry Potter themed Halloween would be fun now, so I am brainstorming ideas I can add. I like the potions master ;) so obviously.

http://momof6.com/wp-content/uploads/2012/10/Harry-Potter-drink-printables.png 

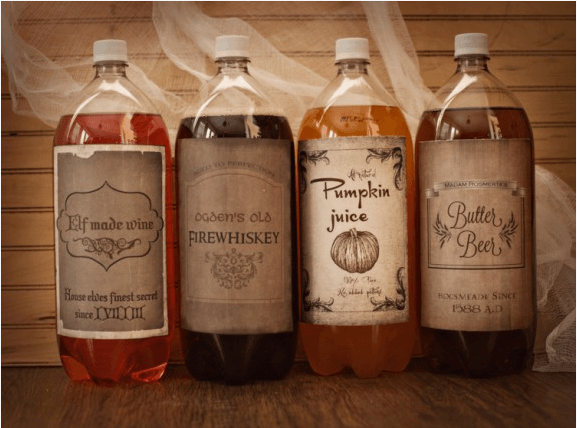
But I want to alter this one a bit, plastic bottle never appealed to me. I like old fashioned glass. If I manage to edit and make these prinatble labels, they would go beautifully with old wine bottles (now I am not too happy for using them as a center piece!, will have to fish out more)

http://static.stevespangler.com/stevespangler/uploads/2012/09/HP-Potions.jpg

 Mason Jars seem like a good idea too, not that vintage or classy but can work especially with gooey jelly and lime green slime!

http://www.themotherhuddle.com/wp-content/uploads/2012/10/Spiders-in-Jar.jpg


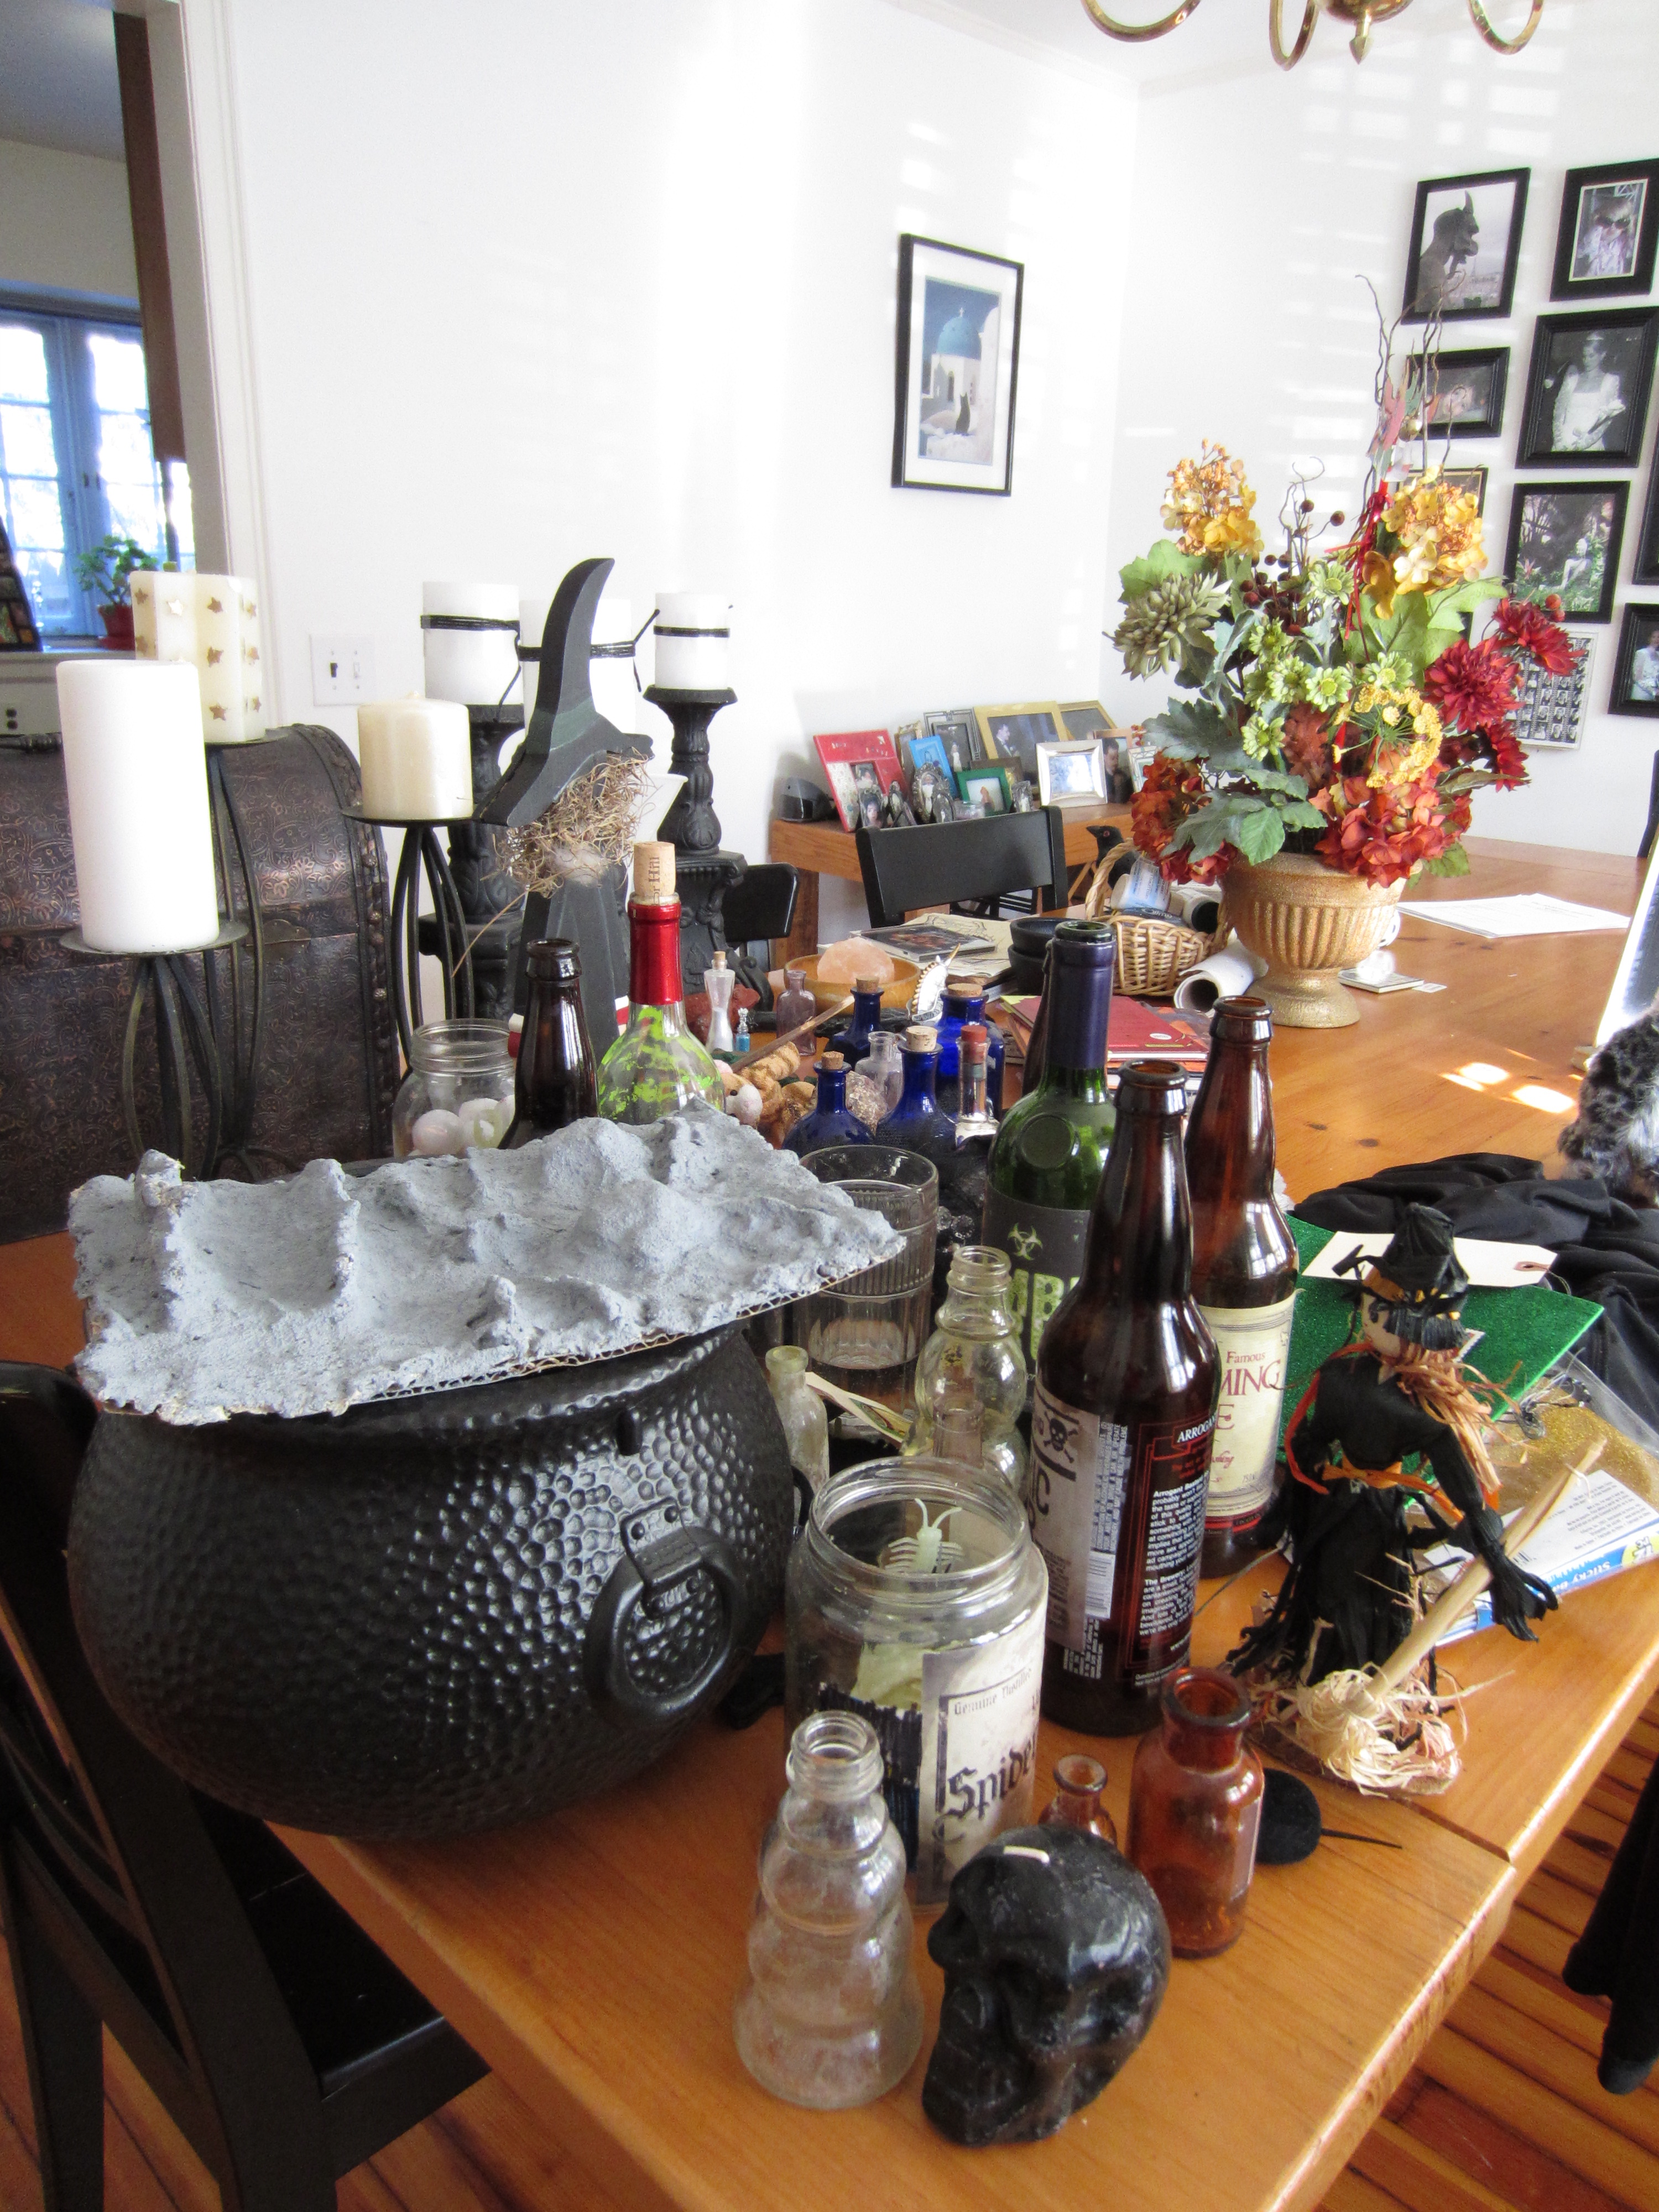
Plastic spiders and such floating would also look neat, I love cork bottles! Love anything old, vintage, worn out.
http://4.bp.blogspot.com/-d--m7nuTuXQ/UafgKqYfr1I/AAAAAAAAKjA/JaSbHCiOJgw/s320/6207872600_af4da5089c_b.jpg

This pumpkin design is simply adorable, will have to think of how to manage the glasses though!

But my personal favorite idea is this one, using different shapes and sizes of bottles and jars, frosting them before filling colored juice. The labels need to be very authentic to give this look.


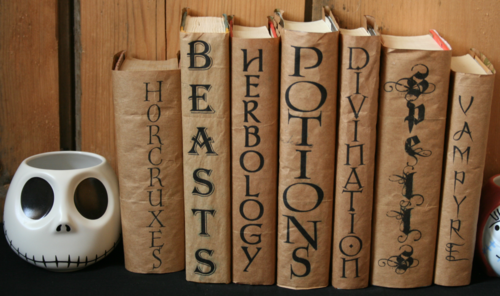
Stacks of books in various corners also look good, I like this idea and already know what materials I will be using, will be easy! (A few grocery bags, black marker and VOILA!)

http://media.tumblr.com/tumblr_lsehckGuPP1qfvhw3.png
 
Some ideas look great but I will have to get my mind to them to figure out how to manage them and what materials I will be needing.
http://1.bp.blogspot.com/-OGRJcaYYvTM/UIWCKhqzNoI/AAAAAAAAByU/J3El2uKDacA/s1600/Halloween%2BDecor%2B8.jpg

http://cdn2-blog.hwtm.com/wp-content/uploads/2010/10/harrypotterparty_cupcakes.jpg 

 http://janedeau.files.wordpress.com/2012/02/img_0214.jpg


So I will be rather busy this weekend, what about you lot? Any themes and Harry Potter ideas? Do let me know!
xoxo
Eva


Parties I am going to:
Ivy & Elephants 
Remodelaholic


Tuesday 17 September 2013

Instantaneously beautify nooks and corners!

Quick tip coming up: Use old wine bottles for decorating nooks and corners. This actually took me less than 5 min. The picture colors are distorted, but it really brightens up the window now! :D

DIY: Rabbit cage for my niece!

Hello everyone, hope you had a great weekend. I had been meaning to post this earlier, but have had a crazy busy weekend. I sure enjoyed some family time and welcomed some new members to our family. My sister got her daughter rabbits!

And of course the task to build them a beautiful home was on my shoulders. (that too on a meager budget! Ah the things you do for family!)

But I am so happy with how it turned out!
 Had some wooden planks and such lying around the garage, I roughly put them together and calculated how much more I would need! I need to build a cage where the bunnies could roam freely, despite the litter box, water and feed bowl.


Needed nails and screw driver and of course a drill machine to build a swinging door


LOVE how it turned out! The lil one loves it too, it the the perfect size where she can enjoy watching them play and roam :D


They are ADORABLE!


 Feasting away on the greens!


Really happy with how it turned out! Planned on painting it, but it wouldn't be safe for the bunnies! Inhaling all those chemicals! So leaving it NATURAL ;)


Monday 9 September 2013

My Decoupage Art Coffee Table!


Hello all you lovely people :)

I am so excited to be sharing my Decoupage Art with you today. I have been inspired by Selenarte Decoupage, and wanted to explore this art for myself, it turned out beautiful!
 
Hope you enjoy reading this tutorial, as much as I enjoyed doing it!
xoxo


DIY: Découpage Coffee Table: Art, Culture and History Spanning the Ages


Decoupage’s origins are speculated to have started with East Siberian tomb art.  The tombs of the deceased from Nomadic tribes used to be decorated with cut out pieces of felts.  The practice traveled from Siberia to China, which by the 12th Century, using the decoupage method of cutting out paper became popular.  It was vintage art which was used to decorate lanterns, windows, boxes and other objects.  It’s thought these practices made its way to Europe by way of Italy, who in the 17th Century, was at the forefront of trade with the Far East.

Drawing forth this ancient form of art into the modern world, I made a visit to Blick’s Art Supply store which had beautiful handmade paper.  In decoupage bliss I picked out a few lovely pieces to work with.  My goal was to use a desk from Shop4furniture; a hand me down from my mum.

 Materials:

·         Sponge brush – 4 inches for larger projects

·         Paper of your choice

·         Mod Podge

·         Measuring tape

·         Rag


How to:

1.      Clean the surface of your medium


2. Cut out your pieces to exactly the size you need them to be.   


Hint: As shown in the picture I smoothed down the corners of the paper around the surface I needed them to fit in order to create a bend I could follow to cut.


3.      Arrange them and make sure they fit the way you’d like them to.


4.      Apply Mod Podge to the back of the paper.


5.      Apply the paper to your medium, one piece at a time.


6.      Smooth the paper with your hand, starting in the middle and working toward the edges.


7.      Take your sponge brush and start brushing on a medium thick coat in large brush strokes over the whole project.  Be careful not to be too rough with delicate paper.


8.      Allow to dry according to the bottle, and apply a second coat if necessary.


Voila, from boring table to a unique and beautiful piece for your home collection!  Love your home for less has been my motto and I believe anything can be made beautiful if you put your heart and soul in it!